
The simplest approach to learning Fulani braids — what to practice first, which size to start with, and the most common beginner mistakes to avoid.
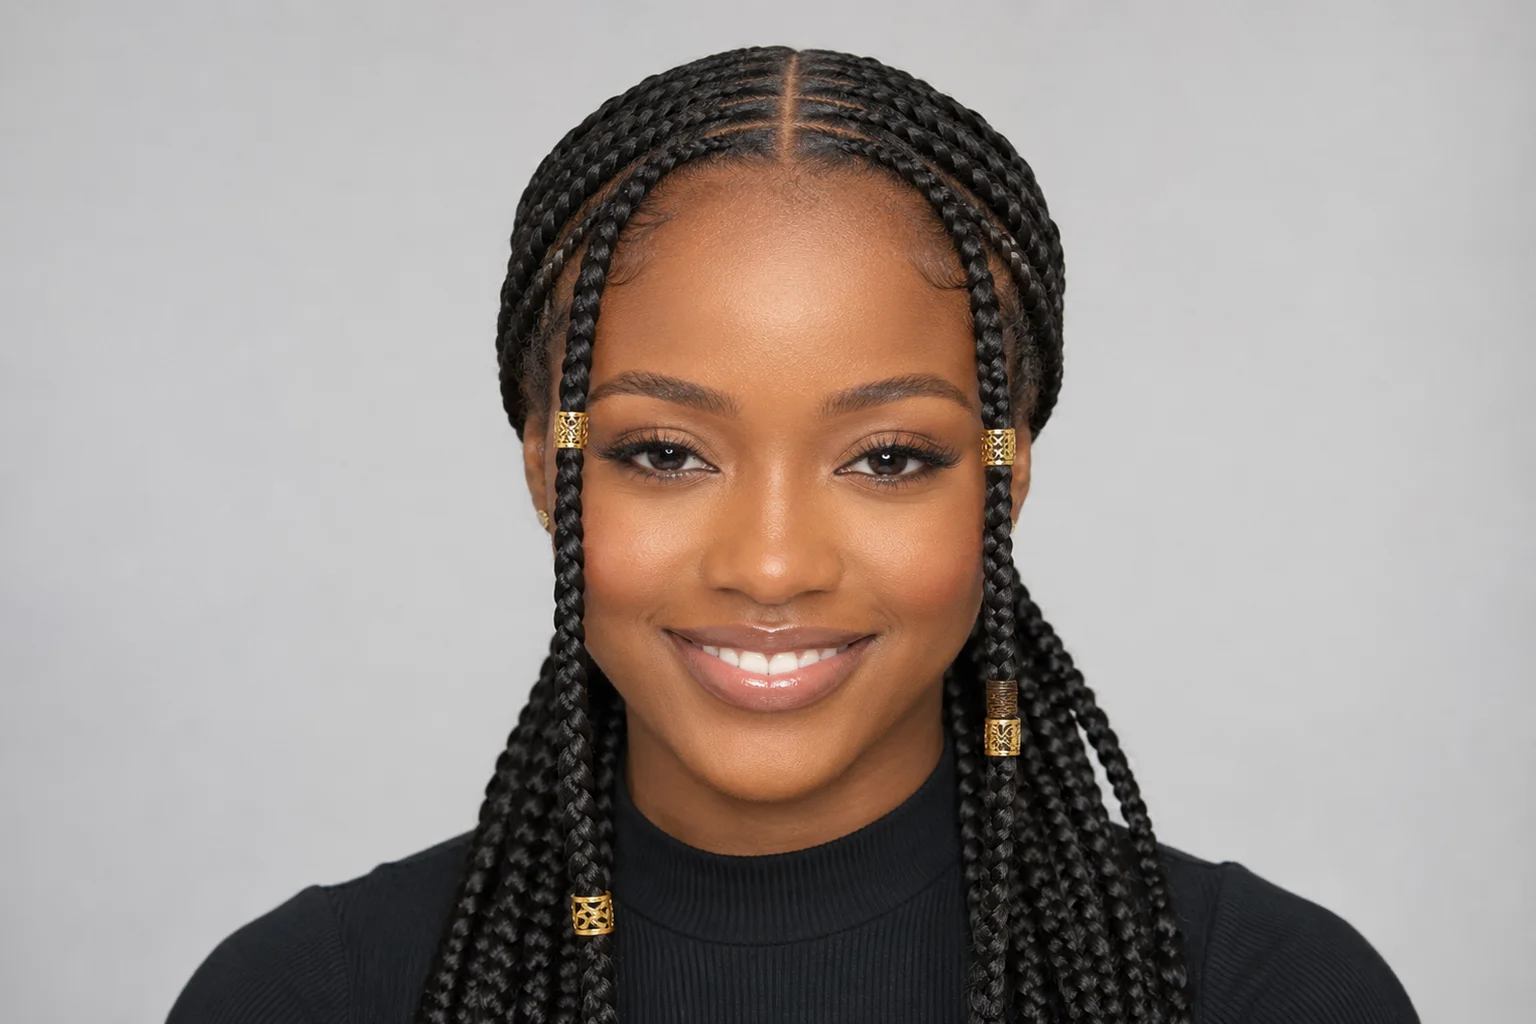
Fulani braids are moderately beginner-friendly — not the easiest protective style to learn, but far more approachable than styles like micro braids or intricate knotless patterns. The Fulani pattern uses a small number of defined sections rather than dozens of evenly distributed braids, which means there are fewer opportunities to go wrong and the structure is easier to understand from the start.
The challenge for beginners doing Fulani braids is the center cornrow. Cornrowing in a straight line from the front hairline to the nape requires a skill that most beginners need to practice separately before it looks clean — and since the center cornrow is the most visible element of the entire style, a crooked or uneven one affects the whole finished look. If you have never cornrowed before, spend one or two sessions practicing straight cornrows on a mannequin head or a willing friend before attempting the full Fulani pattern.
Everything else — the face-framing braids, the box braids making up the remaining sections — is standard three-strand braiding that most beginners can pick up quickly. The style as a whole is well within reach for a first or second attempt as long as expectations are set correctly on the center cornrow.
Before attempting how to do Fulani braids for beginners in a full session, isolate the two skills that matter most and practice them separately.
The center cornrow must run in a straight line from the front hairline to the nape — any deviation is immediately visible. Practice cornrowing in a straight line on a mannequin head until the result is consistently neat before moving to your own hair or someone else's. Doing Fulani braids on yourself is significantly harder and should not be your first attempt.
Feeding kanekalon extension hair into a braid mid-section without creating a visible lump or weak point is a skill that requires practice. Work with extension hair on a mannequin until the feed-in is smooth and the braid thickness stays consistent from root to tip before attempting the full style.
Wash, deep condition, and fully detangle before starting. Braiding into dry or tangled hair causes unnecessary tension and makes the braiding process harder. Apply a leave-in and let hair dry before sectioning.
Use a rat tail comb to create a clean, straight center part from hairline to nape. This is the most important line in the style — take your time. Use a hand mirror to check the straightness from multiple angles before proceeding.
Mark out the face-framing braids (two sections on each side of the center part near the hairline) and divide the remaining hair into your chosen number of sections. Secure each with a rubber band. Having everything pre-sectioned prevents confusion mid-braid.
Start at the front hairline and cornrow straight back to the nape, adding extension hair as you go. Keep the tension firm and even. Check the alignment in your mirror at the crown before continuing to the nape.
Braid each face-framing section as individual braids from root to tip, adding extension hair at the root. These hang loose alongside the face. Add gold cuffs or cowrie shells onto these braids before sealing — they are the most visible adornment points in the style.
Work through the remaining sections one at a time, braiding from root to tip with extension hair. Check symmetry between left and right sides regularly as you go — correct any significant size differences before moving to the next section.
Dip braid ends in hot water to seal synthetic hair. Apply edge control to the hairline and use a soft brush to smooth baby hairs. Step back and check the overall symmetry before calling it done.

The most visible mistake in Fulani braids — a crooked center part affects every section. Re-do it rather than trying to compensate with braiding angle.
Tight braids cause scalp pain and traction alopecia over time. If the scalp feels sore immediately after finishing, tension is too high.
Face-framing braids on each side should be the same thickness and start at the same point — check symmetry before braiding rather than after.
Beads and cuffs must be threaded before sealing braid ends — threading them onto sealed synthetic hair is difficult and can damage the braid tip.
If this is your first time learning how to do Fulani braids for beginners, also consider reading our guide on doing Fulani braids with extensions for specific tips on working with kanekalon hair, and our maintenance guide to keep your first install looking fresh as long as possible.
Independent informational website — not affiliated with any salon or brand. | Disclaimer | Privacy Policy | Contact